
This post started as an attempt to clearing up some old surface stuffs (rhinoscript codes) I have posted about a year ago in the university's blog Dig.T.A. .
My first idea was to have the same surfaces but scripted in a clever way, eventually all of them "printable" (a) but it turns into "I can do this better / I can do some more stuff, yes I can" and I spent some time to make new of them (b). Actually the whole process (considering the render part) took me a week (7-days working) but the scripting part was quite fast (3 days and an half).
(a) First digression: to be "printable" by someone who owns a 3d printer and is so nice to print your model (even he is nice because you pay for it) your model must be "non manifolds". You can read the wiki for "manifold", just to be short it means that every corner of your solid must shared by two and only two meshes (not three for example). And, I forgot to say, you print meshes, not nurbs. So the procedure is: make a script (for example with rhinoscript in rhino), have the model, transform your something model into a mesh faced model, control that the object is non manifold and closed (think of it as a closed envelop you can fill it with some kind of material and the material should not come out it), export the model into .obj or .3ds file, check it again and eventually smooth it for example in blender, put it into some software like netfabb for the last printing check and eventually last repair, send the
model to the nice guy who can print it (I found the guys of shapeways, even if they sent my thesis model with a little delay which lead me to paranoia because of my discussion approaching, are the best in town, for price and quality, but you can send it to whoever you want, for example that guy in Bologna who asked for the same piece ten times shapeways asked me:)
(b) Second digression: it is very VERY easy to loose control of what are you doing while you script. To be clear I strongly believe you should understand this basic concept "scripting could free you from the slavery of cad tool's interfaces and limits, but remember not to become slave of scripting". Namely always remember that in everything that involves creativity (I mean EVERYTHING : from cutting your hairs and cooking for friends to drafting, sketching, drawing, writing, architecturing something) what REALLY matter is not the tool you use, it is not how cool is your scissors, pots, sketchbook, laptop etc.. BUT the IDEA that stands underneath what you are doing. And even if the process is a cool process this could lead you to a not so
clever/interesting/astonishing output. I could say what matter is an idea that succeeds in becoming a creative/interesting/astonishing OUTPUT. A professor I had the fortune to meet told me, changing an old Italian motto that "in our job we JUDGE the book by its cover".
Do you think it is an easy process? It is not. Moreover, while you are drawing you
can stop yourself at this point (an astonishing piece of art), but when you come to
architecture you should also think if what you are doing actually “works”, and if it “works” in a
proper way. So there are a lot more of variables: spaces distribution, building
work flow, energy saving, etc. etc. etc.
And here another strong point of scripting: if you are good enough you can use this
kind of digital tools to take count also of a lot of problems (for example energy,
exposition, shading problems) in a more complex way than simply thinking about it with a pencil and a sheet of paper.
But REMEMBER, (and this should be my last advice): you should not think about doing
ONLY a nice-looking building (the one that looks good in the render) as well as you
should not think having the most functional building (it doesn't exist one, anyway) and ugly one BUT (I think) you should have in mind that every creative piece of
"art" (or piece is good you put your efforts on) is a COHERENT ONE.
So about the aspects and the function (old architecture argument), they do not come
alone, they are linked each others and I believe we should think they are judge one to the other. So coherent-innovative-beautiful-possible worlds I would like we all will be the architect of.
Having said that I took only three days on scripting, so I could not come with a complete architectural project. You have to think about these pieces as glimpses of a process, and also this starting of it is a “false start”, because there is no project idea underneath it. To widen your knowledge about creative process I recommend to you the book “Design and visual communication” by Bruno Munari, hope there are English version of it, I only found this.
The complete file for surfaces is Tesselation01-05.rvb
Let's do a little explanation of them, in the reference to the script
First of all I managed to create a surface editor, so you can choose a surface to “tessellate” or you can insert an equation and its dominion and let the script create the surface itself. Here some example (the equation should be something like z = f (x,y), hope you studied a lot of math)
[CREATE SURFACE].
.jpg)
After this a very simple subdivision and tessellation with squares that approximate the original surface. This is not “printable” at the moment [TESSELATION0x1].
Then I decided to transform the surface creating cubes on it with different heights, and the height of each cube should be randomize. The difficult task was now to create the non-manifold closed surfaces because each of the cube should have lateral and non-overlapping faces. I managed to do it this way (first defining the bottom and top surfaces and their points[TESSELATION01], then drawing lateral faces within the points[TESSELATION02]).
.jpg)
.jpg)
The second one is already printable.
Then some variation: having holes inside the cubes (and still let the surface be printable) [TESSELATIONx3]and also link the size of the holes to the proximity with one or more attraction points[TESSELATION03].
.jpg)
.jpg)
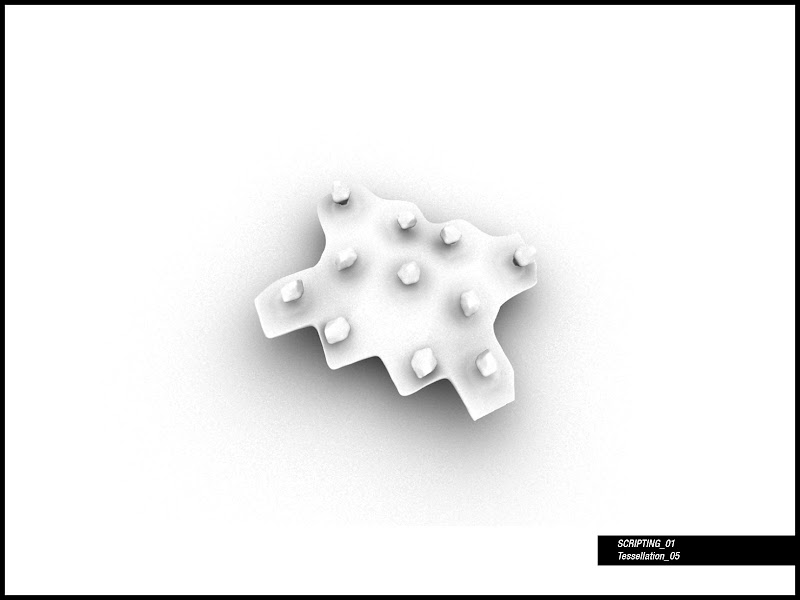
Another surface with hexagonal holes is [TESSELATION04], while I tried to have something more plastic with a surface covered with hexagonal elements [TESSELATION05], and in the end a simple honeycomb surface [TESSELATION06].
.jpg)
.jpg)
.jpg)
.jpg)
.jpg)
Some glimpses of structures with honeycomb tesselation a little smoothed.
.jpg)
.jpg)
.jpg)
Then while I was working a friends of mine showed me this works of the photographer Karl Blossfeld, made in the early 1900s, and I thought to insert another element to the tessellation, this stem-like element and to make it reactive to the attractive points.
So I defined a design for the upper part of the flower with these two section rotating along an axis (changing proportion, angle of rotation, diameter of elements).
.jpg)
.jpg)
.jpg)
.jpg)
.jpg)
I liked the way I did the flower part, it made me think of something like a tower. So I made three simple scripts that made grown a set of these towers along a surface. The first simply put them in a geometrical order (scaling them by position on the surface), the second use link the grow to the distance from attractor points, and the third made generations of tower using the rules of cellular automata (it is easier than it sounds, only a recursive script where you put some rules for every point/element) and making them bigger the big the “colony” it is.
The spreading file is cities generation.rvb
.jpg)
.jpg)
.jpg)
.jpg)
.jpg)
.jpg)
.jpg)
.jpg)
.jpg)
It reminded me something like the invisible cities by Italo Calvino, or a scene from Neil Gaiman' Sandman, when the lord of dreams approaches the gates of hell. Anyway..
.jpg)
.jpg)
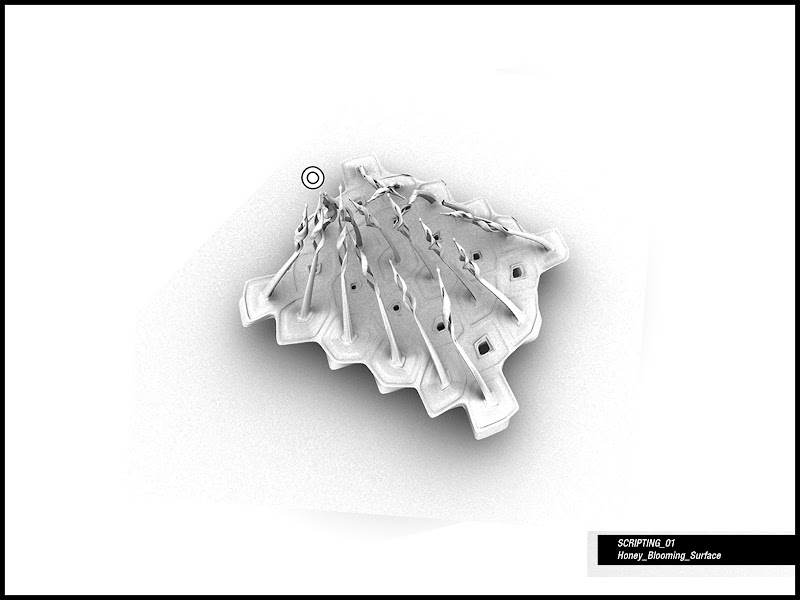
Now the problem of having a surface blooming with those kind of flowers had to be subdivided in steps. Firstly: defining the stem part, that is defining curve (eventually under the influence of some attractors) and the sections for each steps of the curve. The difficult task in this part was to define these sections without loosing their shape. So I defined the relative position of the section points at the start of the curve, and keep it while translating the different sections. I also added the possibility to change the scale of the sections. In the end designing the top part and verify that all the “flower” is close and printable (like an obsession).
After all these step I had to insert this code into the previous one, and check if all the variables where ok. That's it!
.jpg)
.jpg)
.jpg)
.jpg)
.jpg)
You can find all the process in the file HoneyBloomingSurface.rvb (I have to apologize because this one is a little messy, didn't have the time to tidy it up, but you can do it if you want to!)
.jpg)
.jpg)
.jpg)
.jpg)
.jpg)
Nice, isn't it? It is also printable! Maybe I will send it to shapeways and let you see some pics. Anyway I left intentionally open a part of the surface in two pictures to let you see how it works inside.
So I taught you another trick: SUBDIVIDE your problems will help you to focus on them. Then later you will have to link all the part, but if you have designed it well it would be easy. And this is another trick: design or sketch the complete list of steps you should have to get the final result before starting anything else. If you come to the script with an almost complete idea of what you are going to do it will be easy to get to it. Even if..
1.Another important aspect of digital tools is that you can gets something unexpected, and (sometimes) it could looks a good solution. So you can use scripting also for researching solution. But I recommend you not to rely too much on it. In other words I think when you take this kind of approach you should plan in a very strict way the “rules of the game” and then run the script watching different non-predictable way to solve the problem and the possible variations. I think the process will be more fertile the more you limit/define the random part. Then you can come with very interesting results
2.My approach (taking the picture of a flower and putting it inside the script just to look it nice) is obviously just an explanation of a process and in any way I believe this can lead to something interesting in the field of architecture. The main reason you see plenty of people looking at natural system and trying to translate them into architecture with digital tools is because we can recognize that natural systems are COHERENT (!) systems where the function and the ornaments come together to define the form of the structures (the good guys think this way). So I would look to a flower and trying to translate the spacial feelings that the envelope of petals creates and how its forms interact with all the other natural systems and how the petals get stronger and thicker in the regions near the stems. In the end I could have an architecture that completely does not look like a flower but has the same behaviour and the same strong points, as well as the same elegance (the elegance does not come without subtle but omnipresent rules). This is a difference between mimetic architecture and a deeper approach to nature and digital tools.
In the end, as you can see, I meshed all the surfaces and put them to blender (that is one of the best program in the world, even user-unfriendly, and we should all thank everyone who made it possible and free). So (remembering to put rhino tolerance to a very very low value, small object mm, and always having your work near the origin, trying with the script to use as much as you can “addsurfpoints” command, and not nurbs) mesh the model, export it to obj (the less faces you can get to approximate it the best it is), go to blender, import it, select it with the right button, press “tab”, press “w”, remove all the doubles, and now try with adding a subsurf modifier, then apply it and export the model if you wish to.
I hope this was helpful to you, and to the digital-world knowledge. I think it is very important to share our works so everyone of us can have the possibility to grow more and more in a global scenario. Let me know what you think about it, see you, and remember to be creative!


